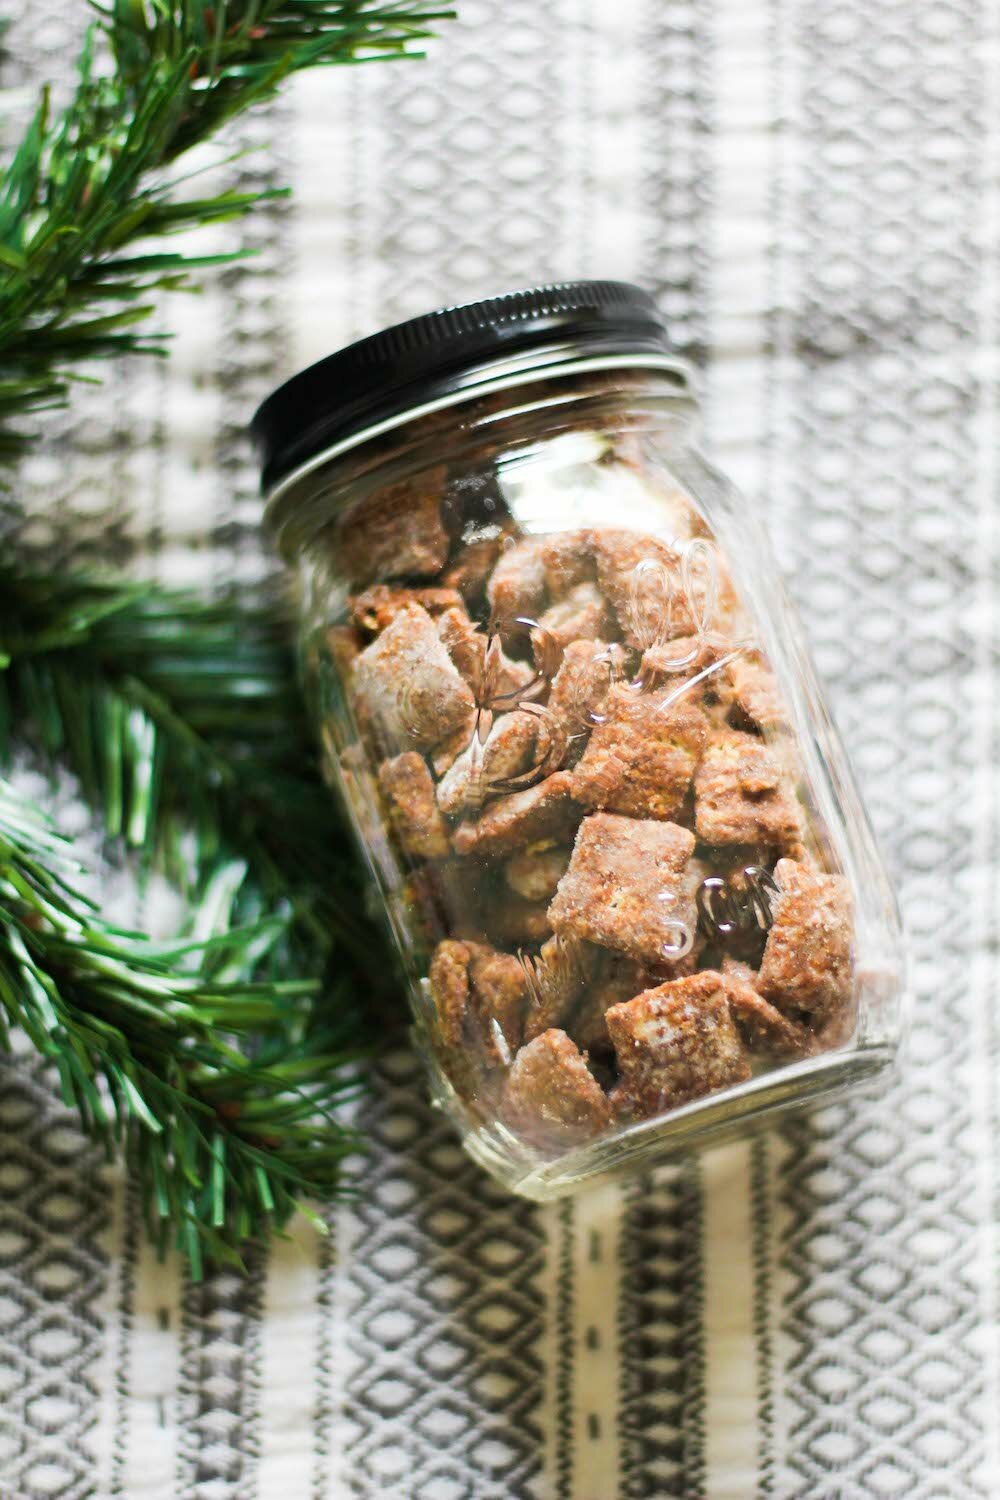
Coconut Sugar Sweetened
|

|
|
9 cups Rice Chex (they're vegan - but you can use whatever kind or brand you prefer!)
2 cups powdered monkfruit sweetener OR 1 cup regular monkfruit sweetener (we used Lakanto - but you can also use powdered stevia or even regular powdered sugar here if you prefer)
1 cup vegan chocolate chunks (we used this brand)
1/2 cup smooth peanut butter
1/4 cup vegan butter
1 teaspoon vanilla
DIRECTIONS
In a large bowl, measure and set aside the cereal.
If you're using prepared powdered sugar, go on to the next step. If you've got regular monkfruit sweetener and need to make it in into powdered 'sugar', simply place 1 cup of sweetener into a blender or food processor and process for 1-2 minutes, until the sugar has pulverized into a finer, powered sugar. It should double in size using this method. Set aside.
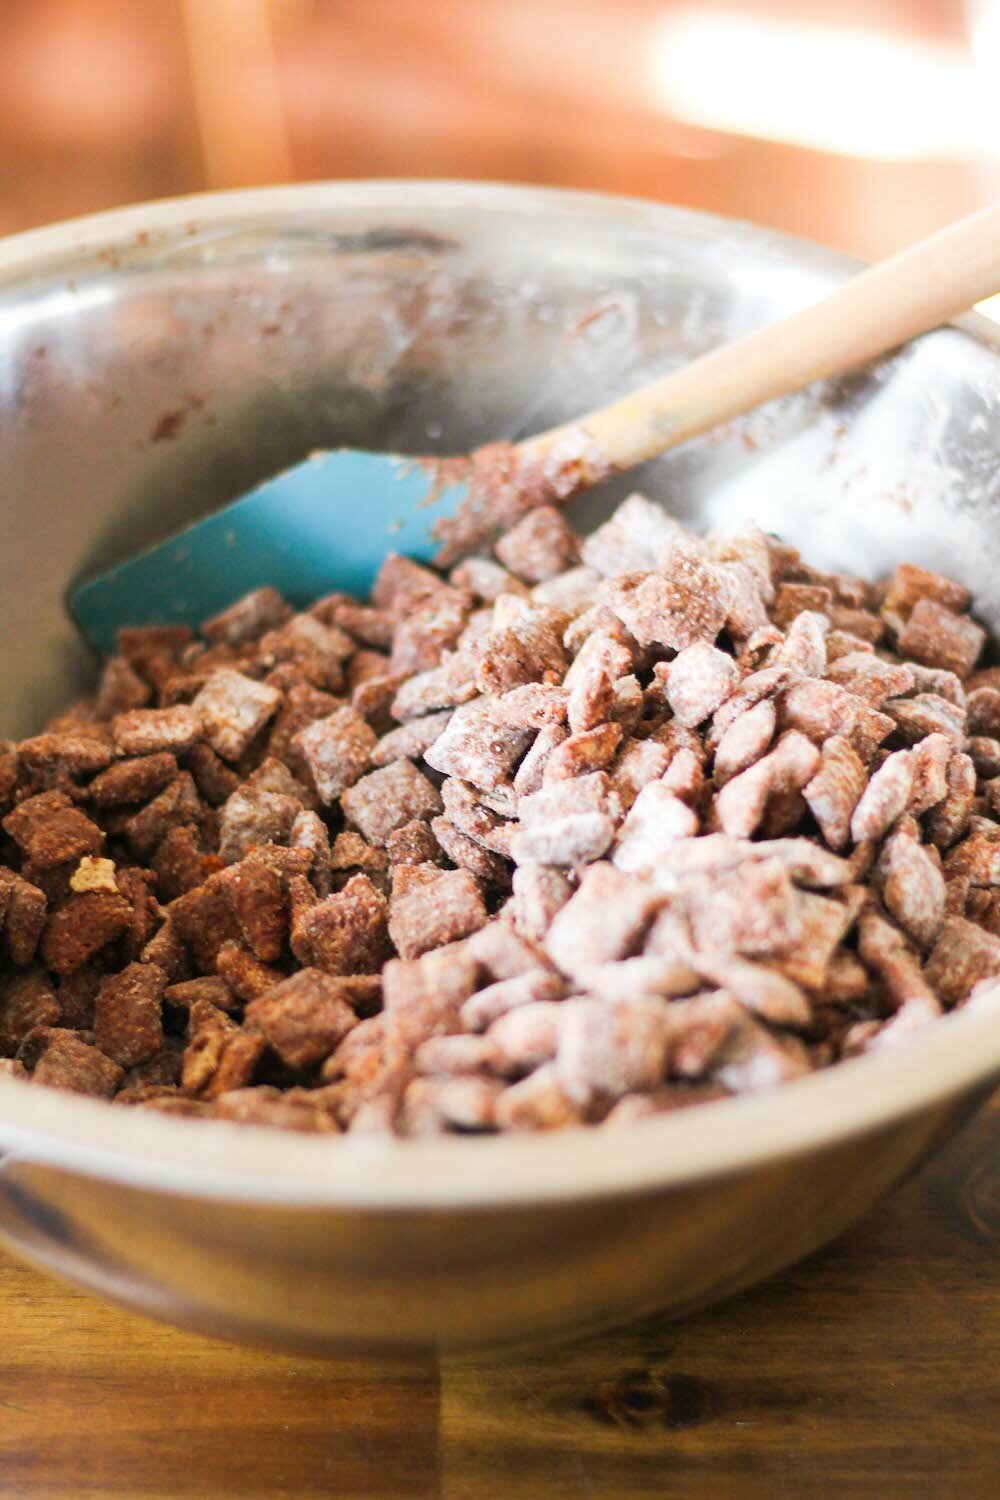
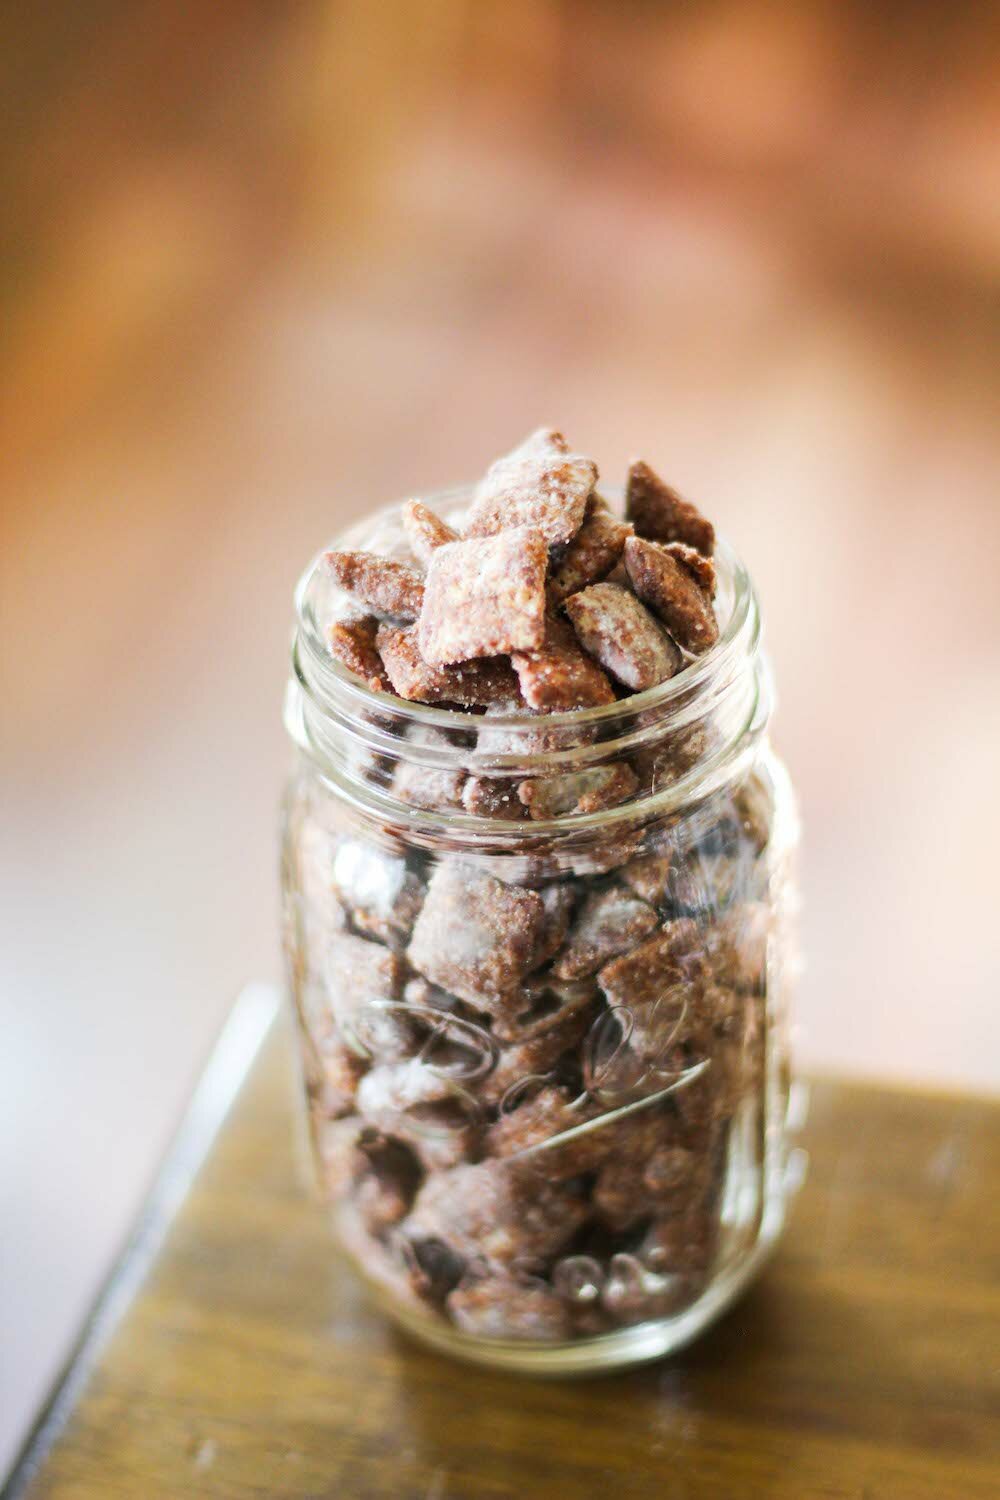
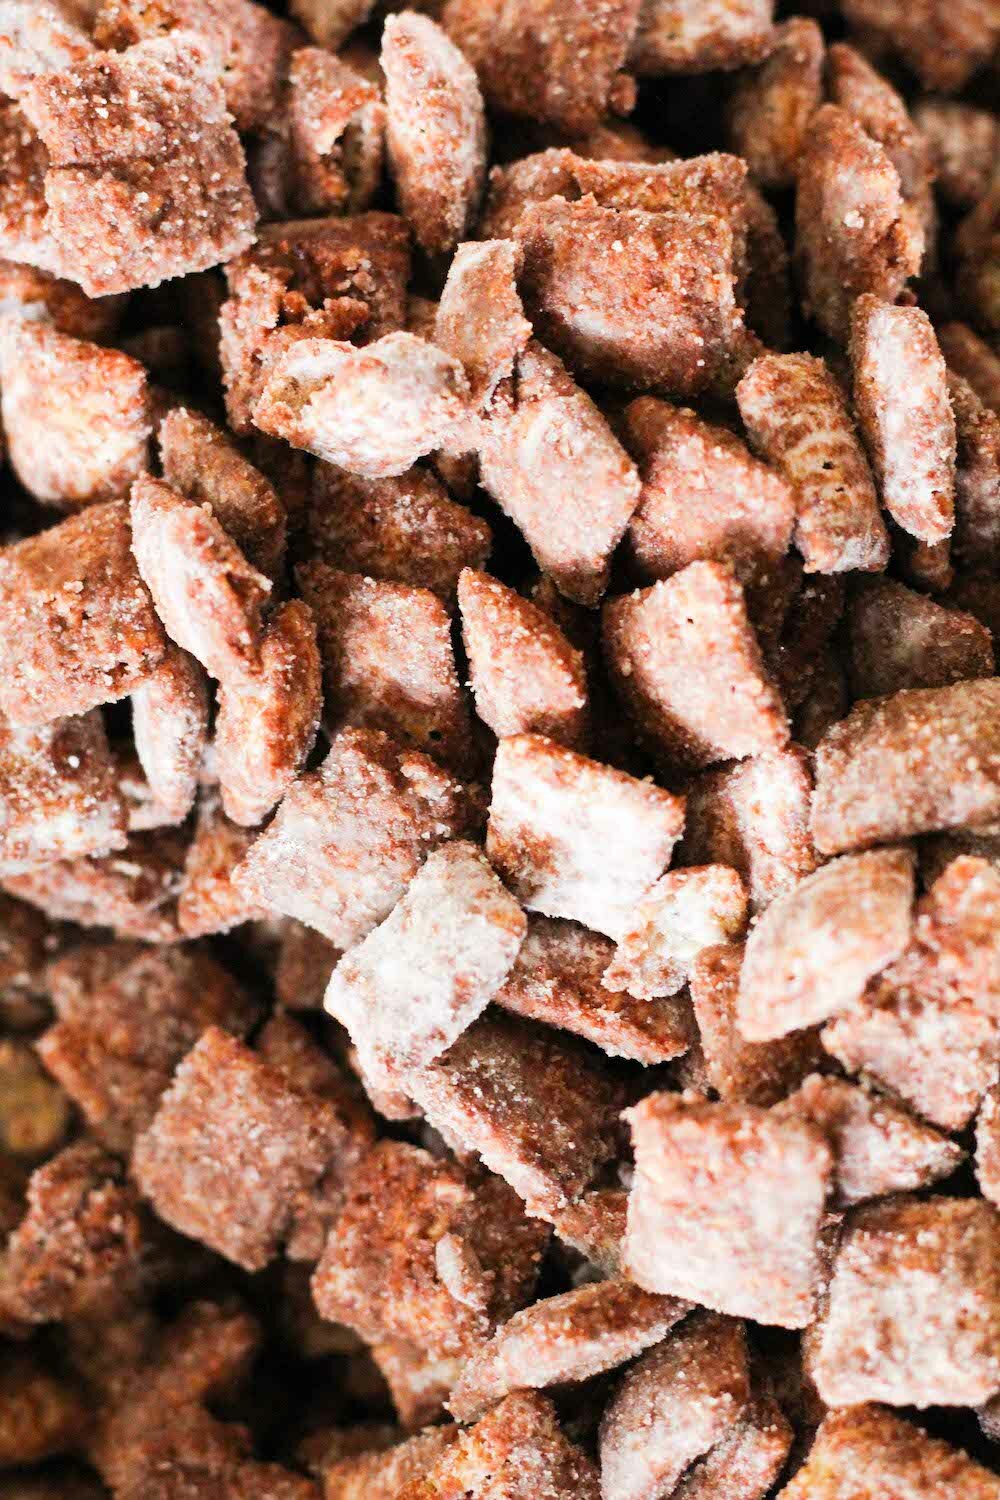
Using the double boiler method (or a microwave!), melt together the chocolate chips, peanut butter, vegan butter and vanilla until creamy, stirring consistently. Pour the melted chocolate mixture over the cereal and use a wooden spoon to gently toss and stir until the cereal is evenly coated. Pour the powdered sugar evenly over the mixture and continue to use the wooden spoon to toss and stir the mixture until the chocolate-coated chex are all evenly covered in a fine layer of powdered sugar. Enjoy or save in air-tight container on the counter or in the fridge for up to a week. Enjoy!
NOTES
If you prefer regular sugar here, go ahead and use it.
If you find another sugar substitute you prefer, use that instead. I can't guarantee the quantity exchange will be 1:1, but a little taste test should help guide you if you're unsure.
Serves 8-10.
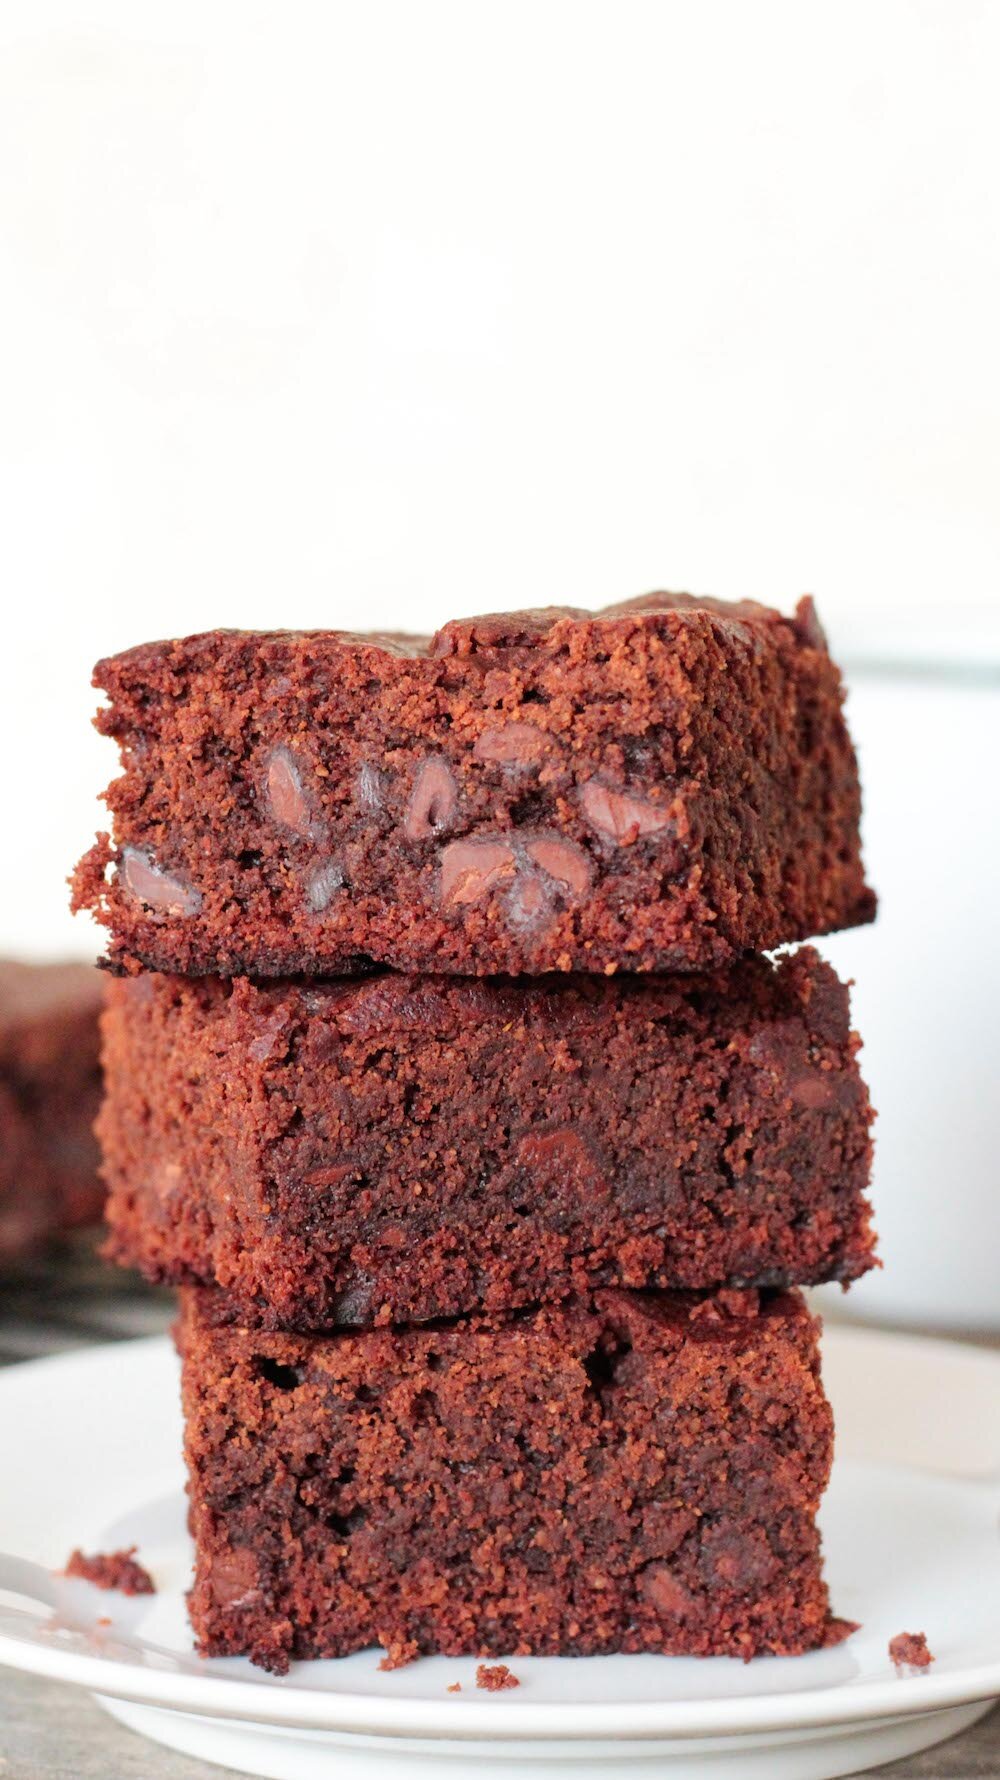
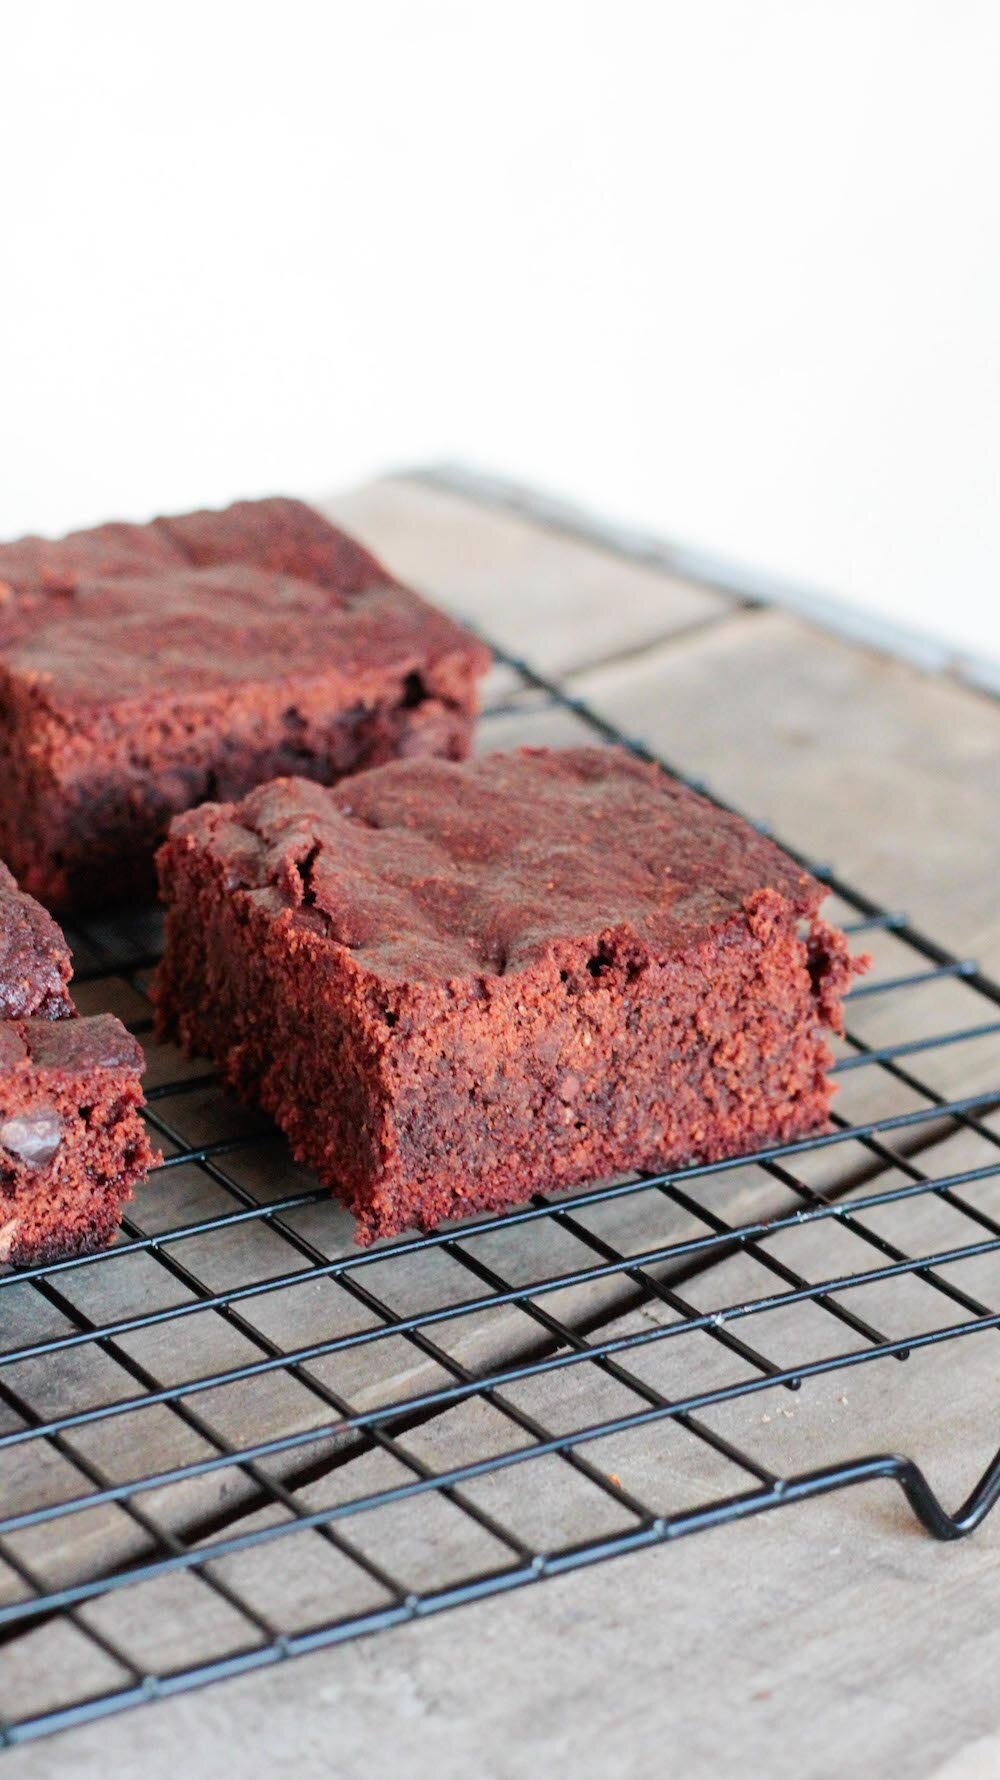
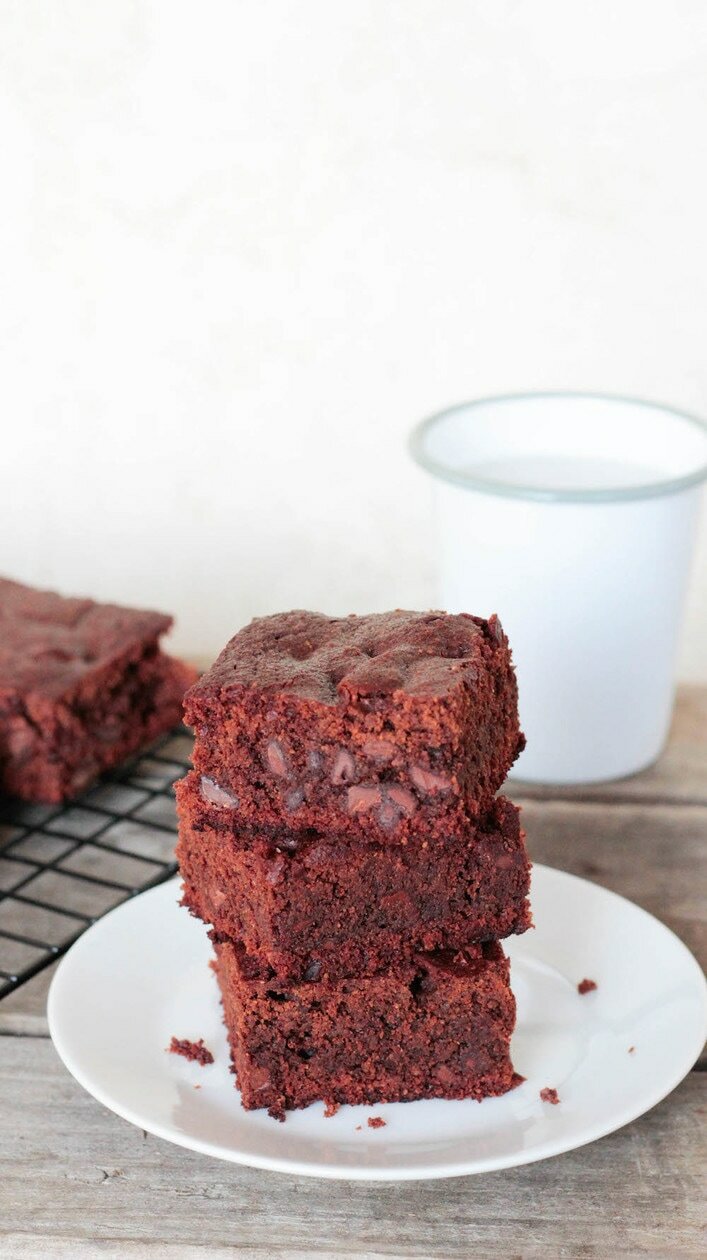
Double Fudge Brownies - grain-free + sugar-free!
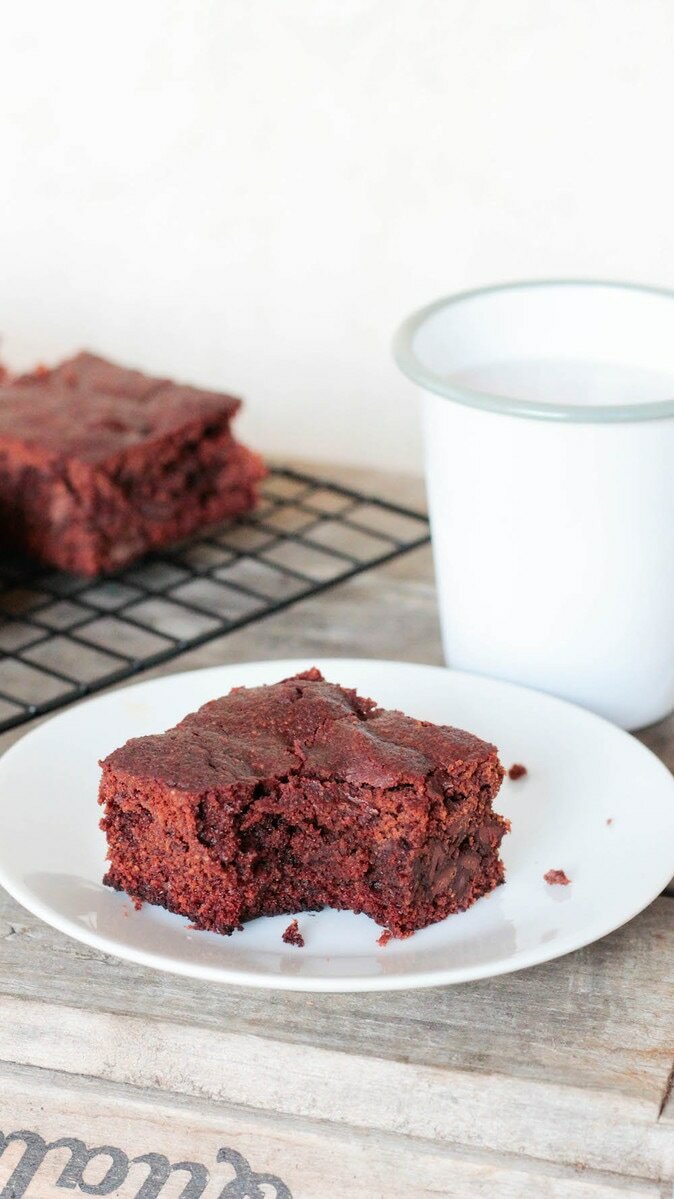
I based the recipe off of the Double Fudge Mint Brownies recipe in my cookbook, Homestyle Vegan, but the original version is full of flour and sugar and all things generally off limits for people with food allergies. Of course, if you need to tweak it to suit your particular preferences please do so, but let us know what changes you make in the comments! It can be helpful for other readers to see what substitutions worked...and which didn't. These are the ultimate fudgy brownies, soft and dense with a chewy outer crust. You can pull them from the oven a few minutes early if you like 'em even fudgier, but either way I think they're best served warm with a glass of almond milk on the side. Anyway, I've got bathing suits and sunscreen to pack, but trust me - you're going to love every second of eating these - and you're going to love how healthy they are even more!
|
|
1/2 cup almond flour
1/2 cup oat flour
1/2 cup cocoa powder
1/2 cup monk fruit sweetener (we use Lakanto Classic)
2 tablespoons cornstarch
1 teaspoon baking powder
1/2 teaspoon salt
1/3 cup coconut oil, melted
1/2 cup monk fruit syrup (we use Lakanto Maple Syrup to keep it sugar-free) OR maple syrup OR agave nectar
1/4 cup unsweetened almond milk
1 teaspoon vanilla extract
1/2 cup vegan chocolate chips or chunks
DIRECTIONS
Preheat oven to 350º. Grease or line an 8x8 in baking dish.
In a large whisking bowl whisk together the flours, cocoa powder, monk fruit sweetener, cornstarch, baking powder and salt.
In a separate mixing bowl, combine the melted coconut oil, monk fruit syrup, unsweetened almond milk and vanilla extract. Pour these wet ingredients into the dry ingredient mixture and use a wooden spoon to combing the mixture completely. The batter may be stiff, so feel free to get in there and use your hands if you like. Once the batter is uniform, pour in the chocolate chips or chunks and stir to evenly distribute them throughout the batter.
Press the mixture into the prepared baking dish, using the back of the wooden spoon to press the mixture down evenly into the dish. Bake for about 30 minutes, or until an inserted toothpick comes out almost completely clean. If you bake them too long, they will become dryer and much more cake-like than fudge-like in texture. Remove the dish from the oven and place it on a cooling rack to cool completely before slicing. For the ULTIMATE fudge brownies, see the tip below. Once cooled, slice and enjoy!
NOTES
Make these brownies EXTRA FUDGY by refrigerating them after cooling for at least 1-2 hours before slicing. The fridge helps cool the core before it has set completely, resulting in some of the best damn brownies ever!
Leftovers can be left on the counter or in the fridge in an airtight container for up to three days. After that they'll start drying out.
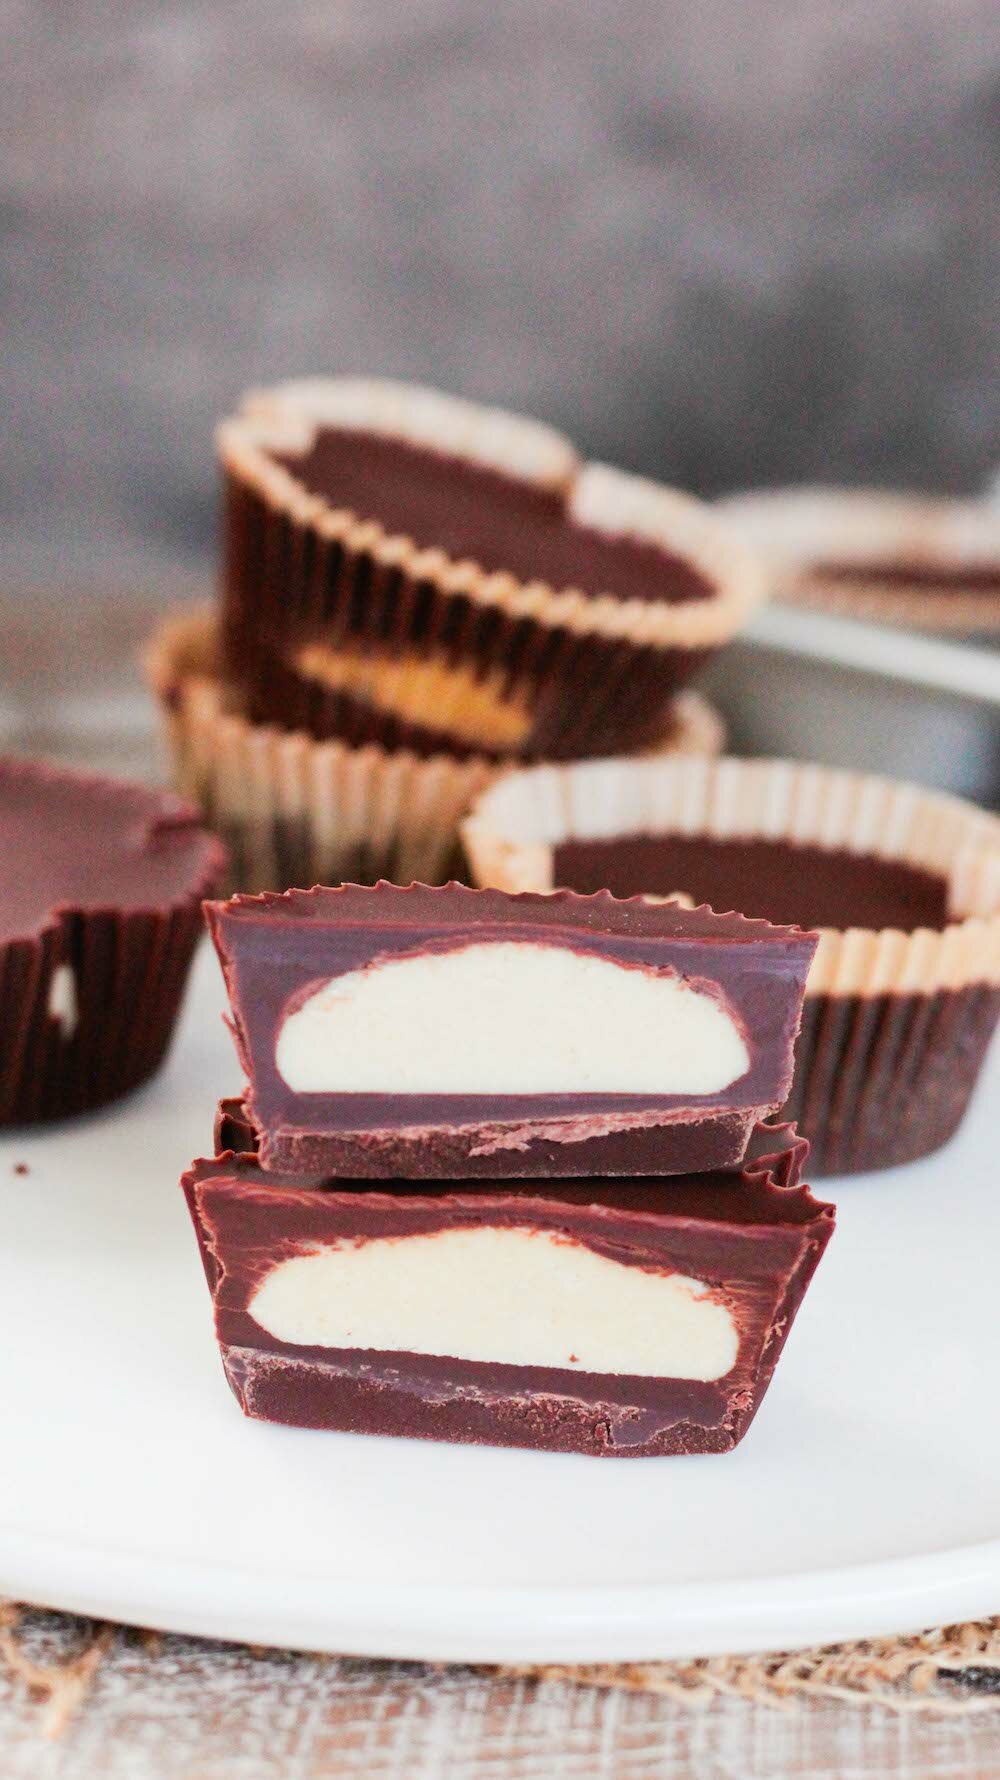
Vanilla Cashew Butter Cups
When I officially started cutting out the sugar, about three months ago, it was due to a combo of wedding prep and having rented 'That Sugar Documentary' and realizing it was time to make a change. The doc showed that the USDA recommends about 10% of calories per day come from sugar - this was about 25 grams of sugar per day, for most people - but the doc showed that most people are eating closer to 80 grams of sugar per day. WHAT?! That's more than 3x as much! I was blown away. And I immediately thought, 'Not me!' because of course I wanted to believe I was achieving something better and because we all want to believe that we're being successful. I'm a pretty healthy eater, but that doesn't mean I'm eating healthfully all the time. Pro tip: I WASN'T. When I started recording my eaten sugars I was totally embarrassed - the first day, I hit 36 grams by 3 pm and was still craving dessert all night. There just seem to be hidden sugars everywhere! Now, I'm not a total nut. I eat healthy, normal foods like fruit without checking the sugars, I just eat it in moderation. Because of course pancakes aren't the same as an apple. But not all people know that! So i'm here to give you a heads up. Cut the sugar out! It was a hard two weeks of cravings and a few headaches for me, but overall the withdrawal symptoms weren't as bad as I expected at all and now, I don't get the cravings at all. (Unless I'm on my period - those cravings conquer all.)
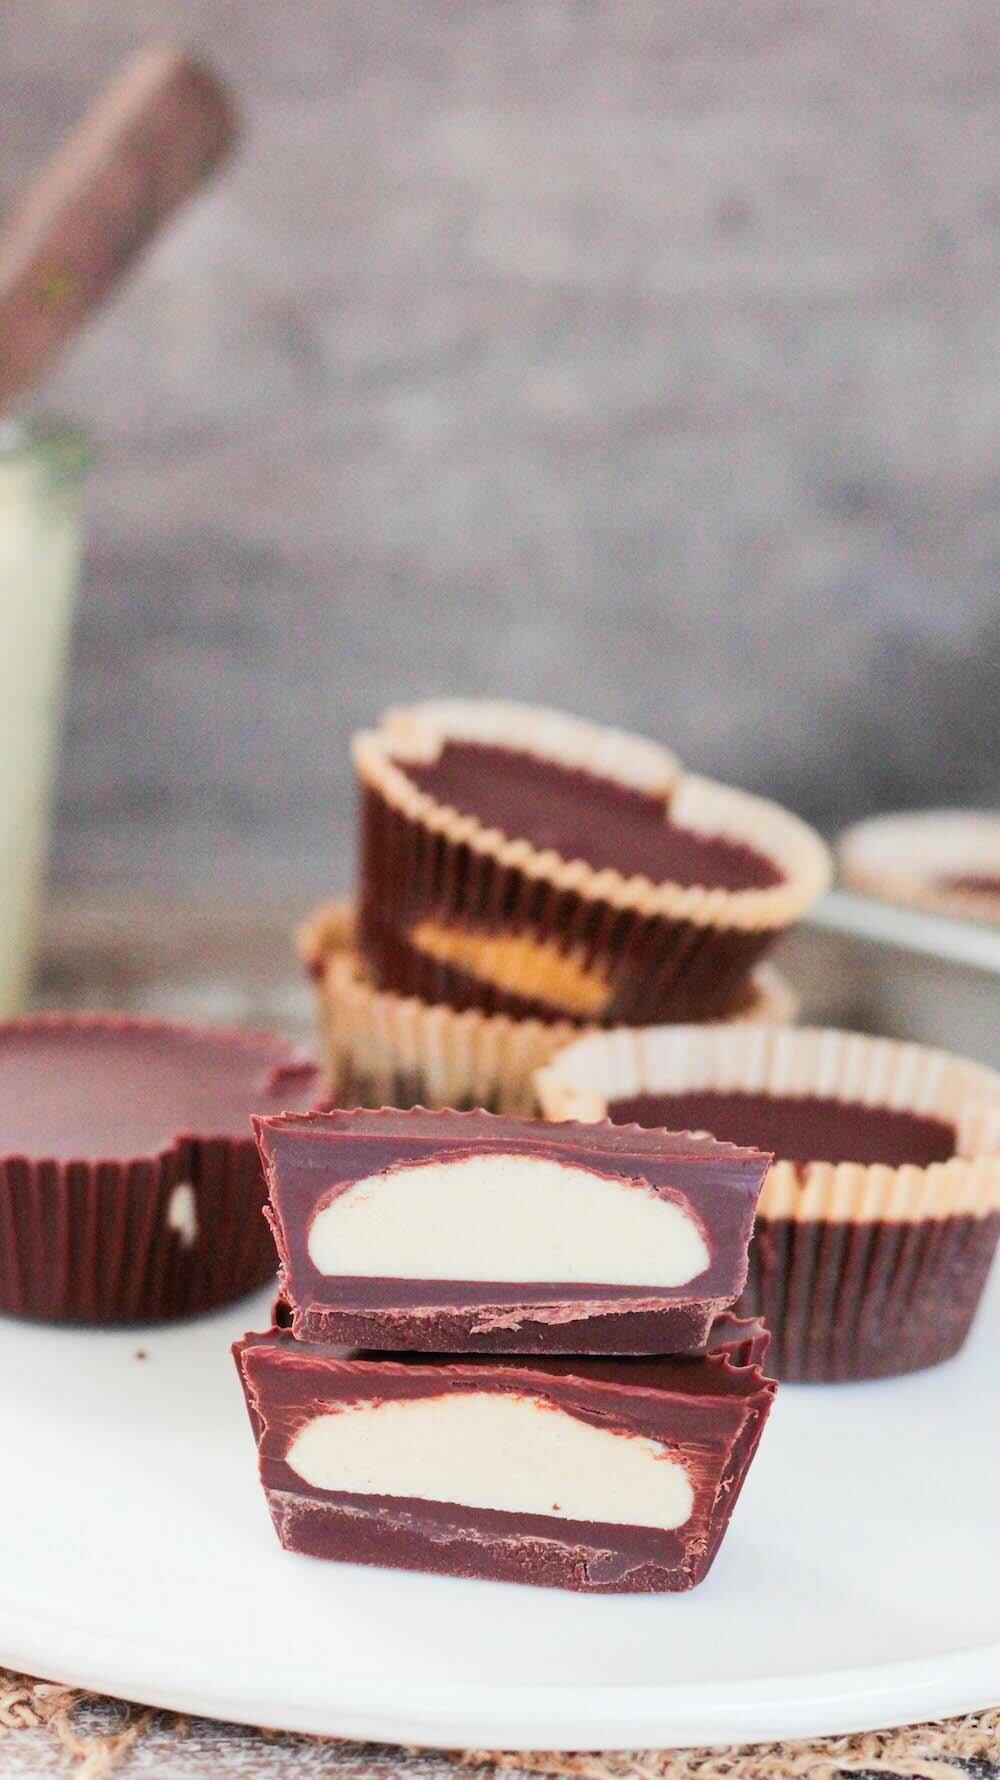
So how did I cut the sugar out? Well, I started weaning myself off by making myself some sugar-free and super low-sugar treats to keep in the fridge. It helped hugely! Now when I wanted a sweet treat, I'd have a little nibble off of one of my guilt-free fridge treats instead of a 1/2 pint of ice cream. And it worked! Soon I wasn't craving the sweets as often, and when I did, I had a healthy solution to reach for before I could make an unhealthy choice instead. That's it! No magic pill, just an upcoming wedding and a solid amount of will power. You can do it too! And the perfect way to start is with these - almost TOO easy to make - Vanilla Cashew Butter Cups! They're rich, creamy, and decadent - and you'd NEVER know they had no added sugar. I used the recipe for the Vanilla Cashew Butter from my Homestyle Vegan Cookbook (it's got great reviews on Amazon!), but you could definitely use the nut butter of your choice here instead.
Quick note: The chocolate you buy will affect the sugar in this dessert. If you buy a 70% + Dark Chocolate like I did, the sugar should be under 9 grams per serving, which is reasonably low. You can look for a sugar-free chocolate, but I think real, rich, dark chocolate really works great here. And plus, we don't want to demonize sugar, just eat a ton less of it. Looking for more low-sugar desserts? Find our favorites here. Also, we want to give a shout to Honeycomb Studio in Atlanta for the gorgeous, hand-made, small-batch porcelain plates in the photo. They are almost too pretty to use - we love them!
|
|
Vanilla Cashew Butter (from my Homestyle Vegan Cookbook)
2 cups raw cashews
1 vanilla bean, scraped
1/4 teaspoon cinnamon
pinch of salt
Vanilla Cashew Butter Cups
1 cup cashew vanilla cashew butter
1/4 cup coconut oil (optional)
3 cups dairy-free chocolate chips or chunks
1-3 drops vanilla stevia (optional)
DIRECTIONS
Vanilla Cashew Butter
Preheat oven to 325º. Line a baking sheet with parchment paper. Spread the cashews onto the baking sheet and roast for 10-15 minutes, stirring once, until golden and fragrant.
Let the cashews cool completely, then pour them into a food processor with the vanilla bean innards, cinnamon and salt and process until smooth. It might take a while - it took us about 5 continuous minutes of processing to get a super smooth consistency. Of course, if you prefer it a little chunky, you do you - just stop processing while there are still some chunks left. Pour the nut butter into an airtight container and set aside.
Vanilla Cashew Butter Cups
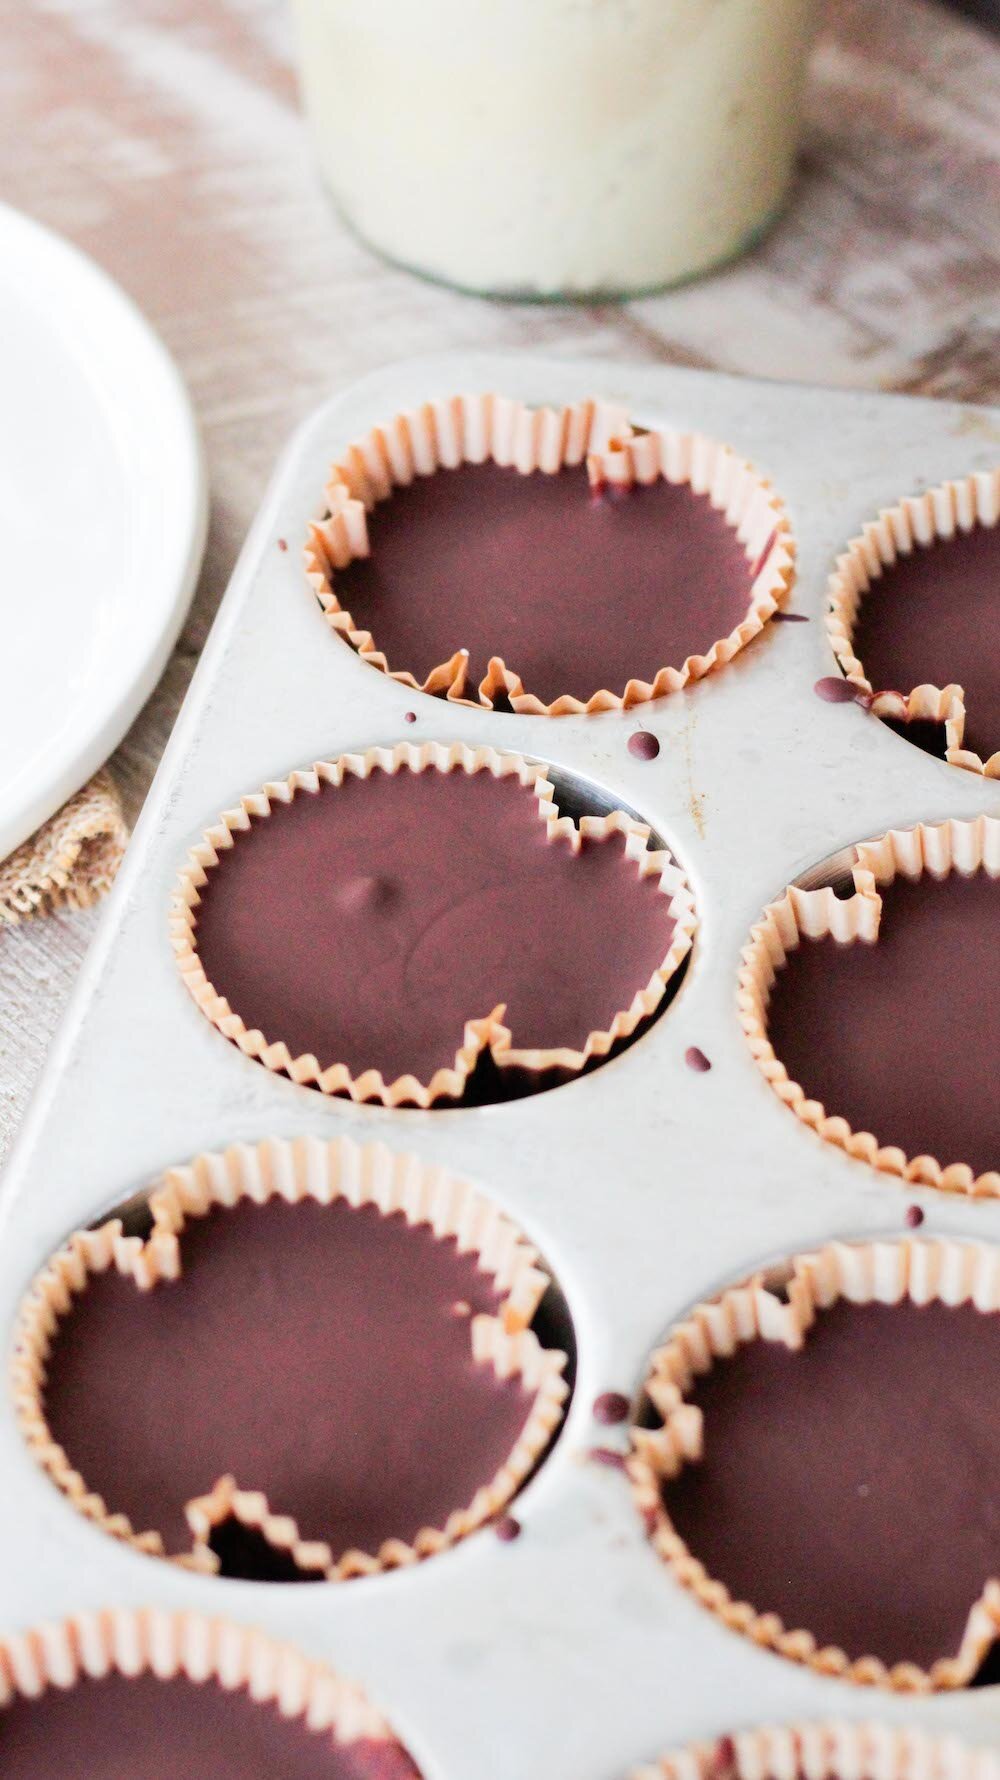
Line a muffin tin with paper liners and set aside.
Using the double boiler method, begin to melt the chocolate chips over medium heat, stirring as they soften. Pour in the coconut oil and stevia, if using, and continue to stir until the chocolate is completely melted and smooth.
Pour about 1 tablespoon of melted chocolate into each lined cup. Pop the tray into the freezer for 5-10 minutes to set. Pull the tray out and scoop about 1 tablespoon of the vanilla cashew butter onto the chocolate layer of each cup, centering it as best you can. Once all the cups have the cashew butter, pop the tray in the freezer for another 5-10 minutes to set again. While it sets, make sure your chocolate it still melty and ready to go.
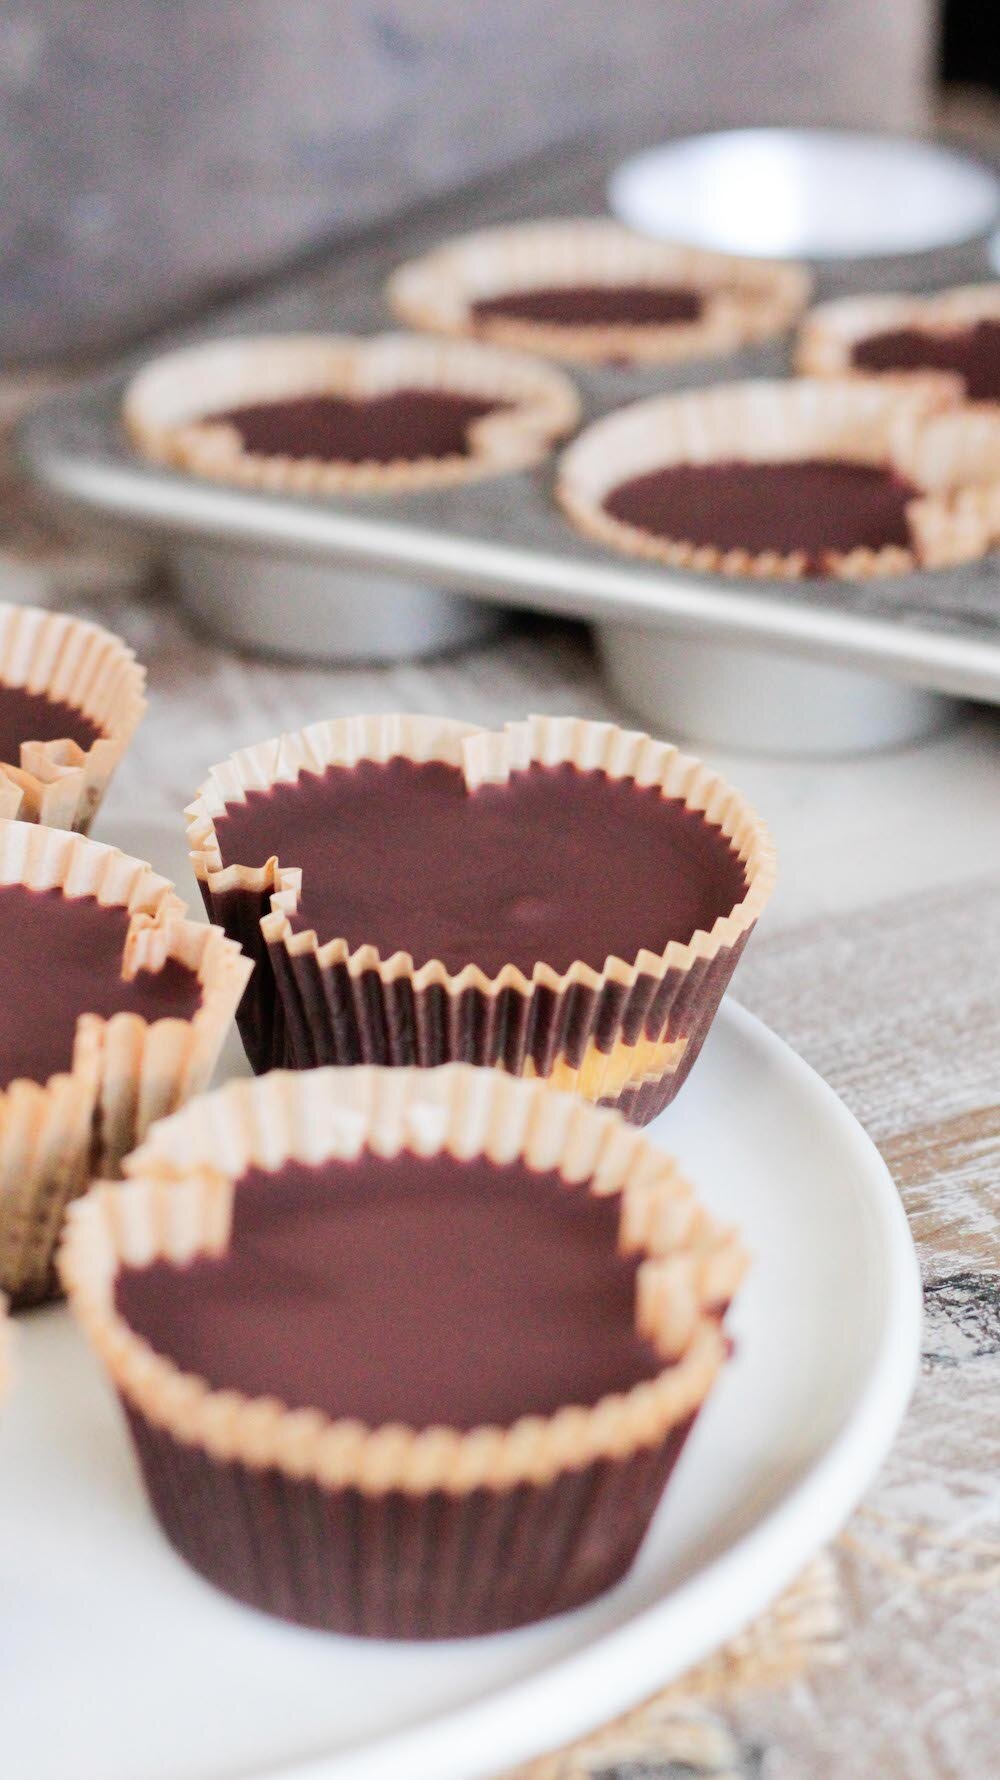
When set, pull the tray from the freezer again and top each cup with 1-2 tablespoons of the remaining melted chocolate mixture, until the cashew butter is completely covered or 'sealed' within each cup. Pop the tray back in the freezer to set, another 10-15 minutes. Once set, remove the cups from the tray and enjoy! They will soften at room temperature if coconut oil was added, so keep them in a cool place until you'r ready to eat them.
NOTES
Makes 12-14 cups.
Leftover vanilla cashew butter doesn’t need to be refrigerated, and should keep at least two weeks out of the fridge. It will last indefinitely in the fridge.
Leftover cups are best saved in an airtight container in the fridge or freezer for up to 6 months.
Nearly Sugar-Free Chocolate Chip Cookies
1 tablespoon ground flax
3 tablespoons warm water
1 1/4 cup whole wheat pastry flour (or AP flour)
1 teaspoon baking soda
1/4 teaspoon salt
1/2 cup softened coconut oil
2 tablespoons brown sugar, maple syrup, or your favorite sweetener (optional)
3/4 teaspoon liquid vanilla stevia
1/2 teaspoon vanilla extract (double if using unflavored liquid stevia)
3/4 cup non-dairy chocolate chips
DIRECTIONS
Preheat oven to 350 degrees F.
In a medium mixing bowl combine the flax and water, set aside to gelatinize.
In a separate, larger mixing bowl whisk together the flour, baking soda and salt. Form a well in the center and set aside.
In the medium mixing bowl with the flax mixture add the coconut oil, sugar or maple syrup, stevia and vanilla. Whisk to combine completely, then pour the mixture into the well formed by the dry ingredients. Use electric mixers to beat the mixture together until well combined. If not using an electric mixer, mix with a wooden spoon until you can't anymore, then finish it off with your hands. Once combined, pour in the chocolate chips and mix 'em in.
Use a cookie scoop or spoon to scoop 1-inch balls onto a lined or lightly greased baking sheet. Bake for 10-12 minutes, or until the cookies are golden. Remove from the oven and move the cookies to a cooling rack. Enjoy!
NOTES
Makes about 18 cookies.
Leftover cookies save well in a sealed container on the counter for up to a week.
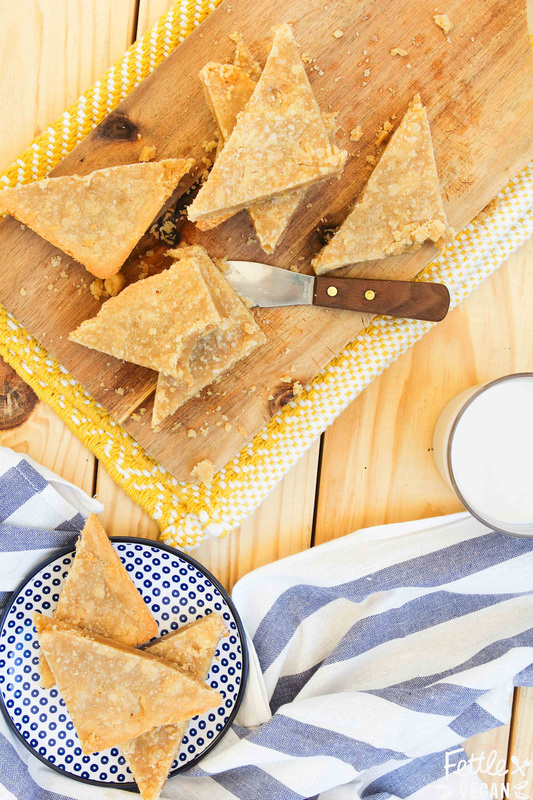
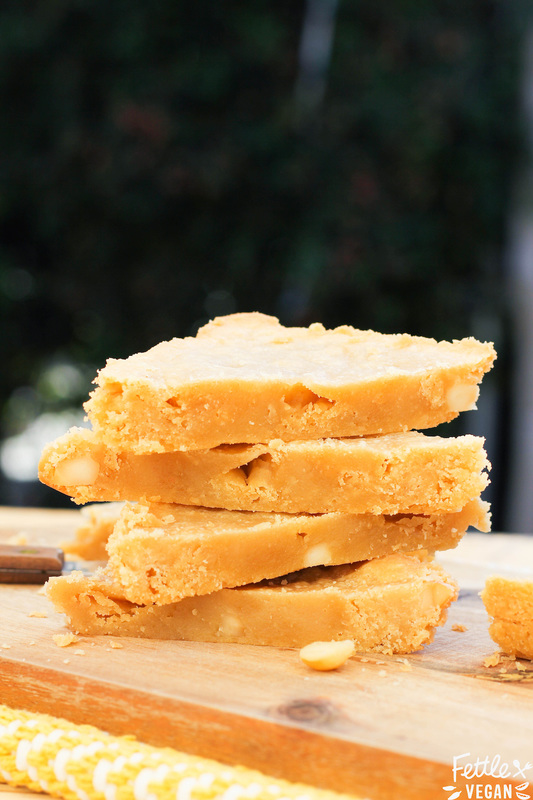
White Chocolate Macadamia Nut Cookie Bars
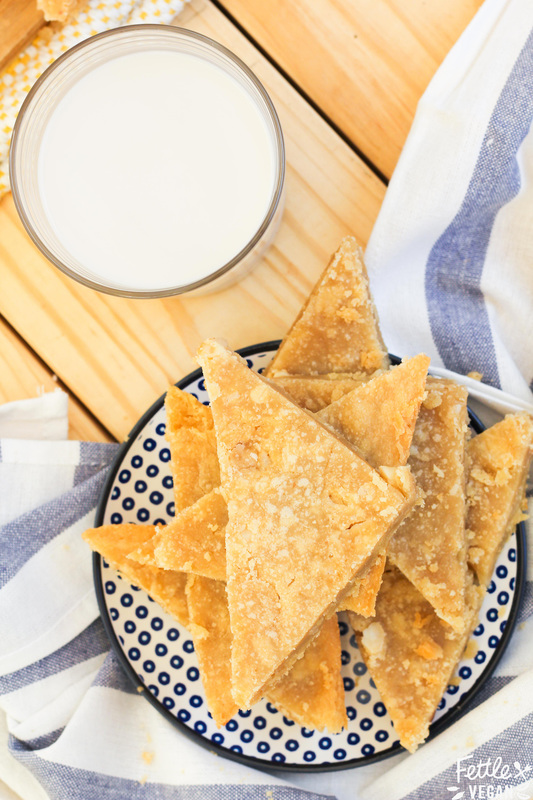
I used maple syrup instead of sugar in this recipe because I prefer the flavor of maple syrup, but substitution info is listed below if you're interested. These cookie bars are thin, a bit crispy on the edges, and packed with yummy, crunchy macadamia nuts. They're SO GOOD and make a taste pretty damn dipped in tall glass of almond milk. So what're you waiting for?! We've got cookies to eat!
|
|
1 cup vegan butter OR vegetable shortening
2/3 cup maple syrup
1 1/2 teaspoons vanilla
3/4 teaspoon salt
2 cups all purpose flour
1/2 cup vegan white chocolate or cacao butter, roughly chopped
1/2 cup macadamia nuts, roughly chopped
DIRECTIONS
Preheat the oven to 350°.
Using a hand held or stand mixer, cream together the butter, sugar, vanilla and salt until light and fluffy. Add in the flour. When it's fully incorporated, stir in the white chocolate chunks and macadamia nuts.
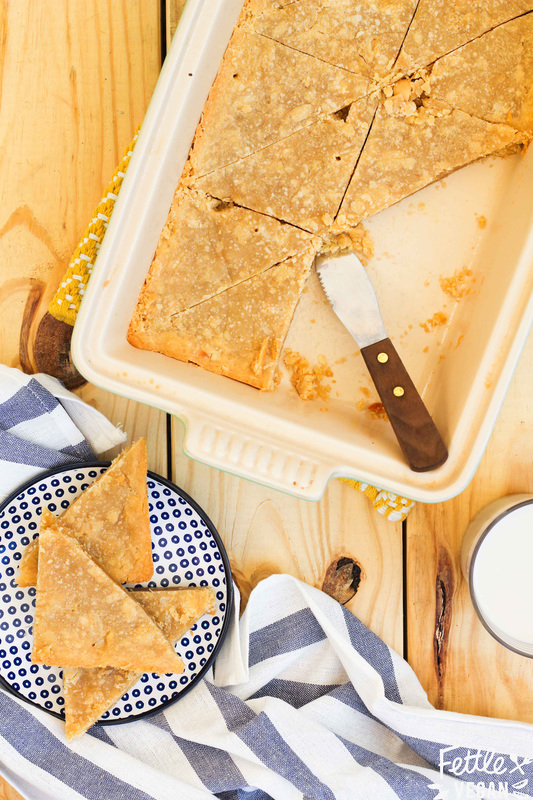
Pour the cookie dough into a greased 9 X 13 inch baking dish. Press dough very firmly with plastic wrap or a spatula until the top is silky smooth and free of cracks or bubbles.
Bake for 23-28 minutes until slightly golden + crisp on the edges. An inserted toothpick should come out clean. Cool completely, then cut into triangles (or squares!) with a sharp knife. Scoop out the bars and enjoy!
NOTES
Makes about 16 bars.
You can also sub 1 cup organic sugar for the maple syrup here. The cookie bars will be crispier if you do this.
For thicker bars you can also try baking in an 8x8 inch pan, but the cooking time may need to be adjusted.
Leftovers last in the fridge for about a week!
S'mores Brownies
1 tablespoon ground flax + 3 tablespoons warm water
1 cup sugar
1/2 cup unsweetened almond milk
1/2 cup vegetable oil
1 teaspoon vanilla
1 cup all purpose flour
1/3 cup cocoa powder
1/2 teaspoon baking powder
1/2 teaspoon salt
1/2 cup chocolate chunks
1/2 cup vegan marshmallows (we used Dandies!)
DIRECTIONS
Preheat the oven to 350ºF. Grease or line an 8x8 inch baking dish.
In a small bowl which together the ground flax and warm water. Set it aside to gelatinize.
In a medium mixing bowl, whisk together the sugar, unsweetened almond milk, vegetable oil and vanilla. Add in the flax mixture and stir well to combine.
In a separate large mixing bowl combine the flour, cocoa powder, baking powder and salt. Make a well in the center and pour in the wet ingredient mixture. Whisk together until a smooth batter forms. Fold in the chocolate chunks and marshmallows and pour the mixture into the prepared baking dish.
Bake for 20-30 minutes, until an inserted toothpick comes out clean. Let cool completely before slicing. Enjoy!
NOTES
Makes 12 brownies.
For even fudgier brownies, fridge the cooled brownies at least 2 hours before cutting into them.
Vegan Easter Creme Eggs
1/2 cup + 2 tablespoons sugar
2 tablespoons hot water
1/4 cup vegan butter
1 tablespoon unsweetened almond milk
1 teaspoon vanilla
1/8 teaspoon salt
3 cups powdered sugar
a few drops of yellow food coloring (we used this brand)
10 ounces chocolate chips or chopped bar chocolate
8 egg-shaped molds (or any-shaped mold, really!)
DIRECTIONS
Heat a small pot over low heat. Pour in the sugar and water, stirring until the sugar is completely dissolved. Turn off the heat and pour the mixture into a large mixing bowl.
Add in the butter, milk, vanilla and salt and beat the mixture together. Pour the powdered sugar into the bowl about a cup at a time, beating continuously until a thick fondant-like paste forms.
Scoop about 3/4 of the mixture into a small bowl, and the remaining 1/4 into another small bowl. Into the smaller bowl, add a few drops of yellow food coloring and stir until the entire mixture is evenly dyed. Set aside.
Using the double boiler method, melt the chocolate. Pour melted chocolate into the molds, gently turning the mold pan to evenly coat the inner molds. (Obviously we used eggs, but if you only have heart shaped, you 'em! You could probably also just roll the fondant-like sugar mixture into balls and dip it in chocolate, but no guarantees on how they'll look). Tap out the excess chocolate and pop the molds into the fridge or freezer for a few minutes to harden.
Once hardened, fill the molds about 2/3 of the way full with the white fondant mixture (which for us was a little under a tablespoon), then add a small amount of the yellow fondant mixture (a bit under a teaspoon for us) to the middle. You want the eggs nearly full but not so full the you can't easily add the chocolate top layer. Place the molds back into the fridge to set the fondant layer, about 15-20 minutes.
Gently pour melted chocolate over the top of each filled egg mold, using the back of a butter knife or spatula to scrape any excess chocolate from the top of the molds. Pop the molds into the fridge or freezer to set, about 30 minutes. Once the chocolate has hardened and set, you can immediately enjoy the creme eggs! Otherwise see the notes below for saving them.
NOTES
Makes about 2-inch 16 eggs OR you can get crafty and apply a bit more melted chocolate to the backs of two half-eggs, connecting them to make 8 large creme eggs.
These are best kept refrigerated or kept in a cool place, but are fine on the counter (or in an Easter basket) for several hours. They last up to a month in the fridge or indefinitely if kept in the freezer.

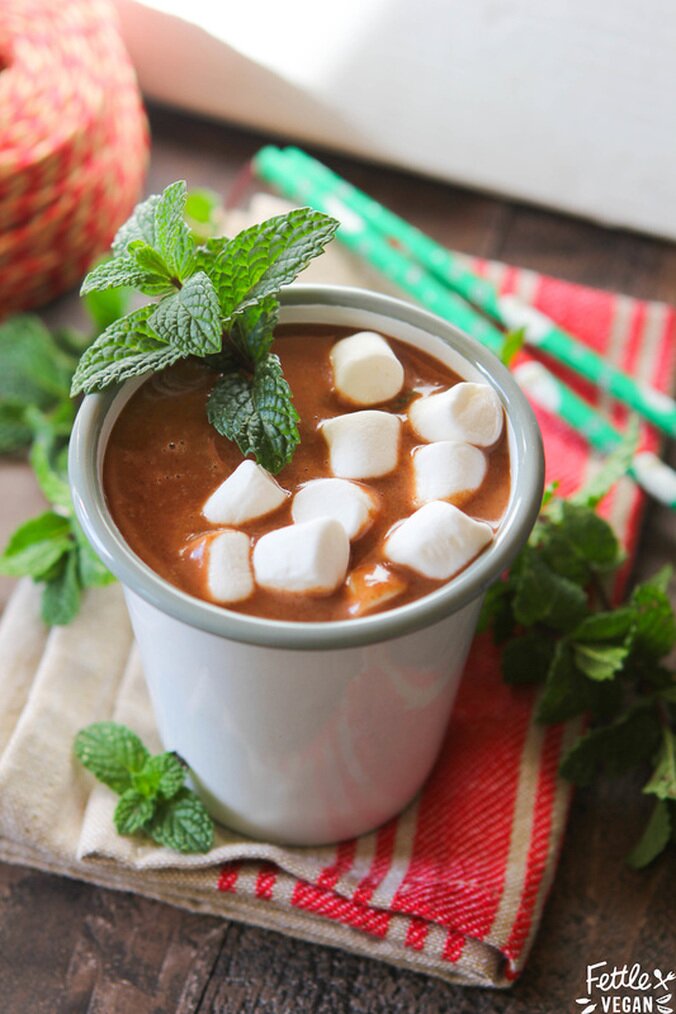
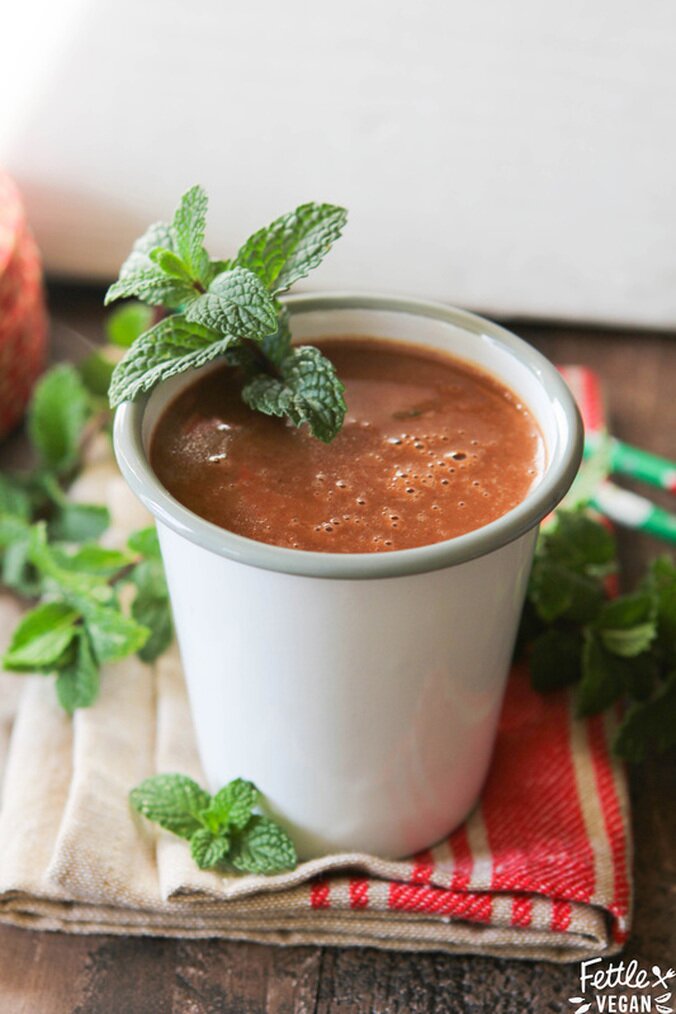
Peppermint Hot Chocolate
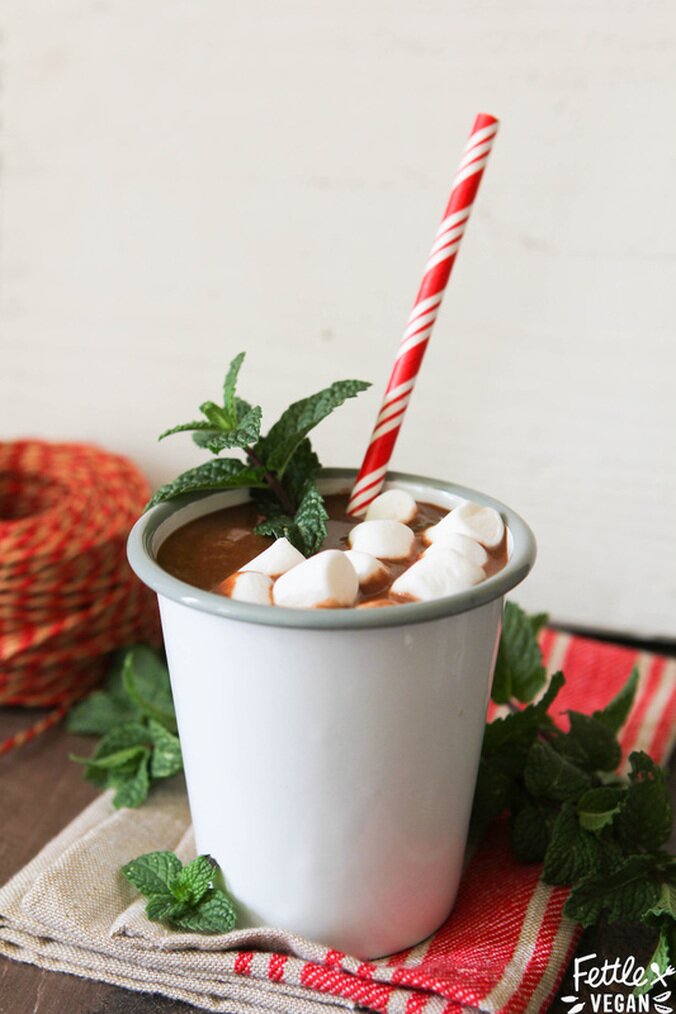
We also have an option to make it lighter, if super rich, delicious, chocolatey drinks aren't your favorite. Of course, if those AREN'T your favorite kind of drinks, you're probably hanging out on the wrong blog. I should be eating more greens, but I love a good cup of liquid chocolate and I'm not shy about it. Anyway - you probably have all the ingredients for this drink on hand now, and if peppermint isn't your thing you can easily leave it out or substitute a flavored extract you prefer. Do you. And do this drink, 'cause it's damn good.
On that note, Happy Holidays! We'll be back after Christmas with a new recipe, but 'till then, we hope you get to spend your Christmas in whatever way you want to spend it and that you're taste-testing all of Santa's cookies. He doesn't need to eat 'em all anyway.
Looking for a few last-minute Christmas goodies to munch? Check out our Savory Stuffed Mushrooms, milkshake-like Brandy Alexanders, and Gingersnap Buttercream Cookie Sandwiches!
1- 15 oz. can full-fat coconut milk
1 oz. (about 1/4 cup) chocolate chips OR chopped bar chocolate
1/4 cup sugar
2 tablespoons cocoa powder
1 teaspoon vanilla extract
3/4 teaspoon peppermint extract
pinch of salt
mint leaves, for garnish
vegan marshmallows, if you like 'em
DIRECTIONS
In a medium saucepan whisk together the milk, sugar, and salt over low heat until the sugar dissolves. Whisk in the other ingredients and cook until hot - NOT boiling. Pour into a large mug, top with marshmallows and a fresh sprig of mint, and enjoy!
NOTES
Makes 1 large or 2 smaller mugs of cocoa.
For a lighter cup of hot chocolate, sub your favorite non-dairy milk in place of the coconut milk.
For a plain mug of cocoa, you can leave out the peppermint, or get creative and sub a different flavor like orange or lavender!
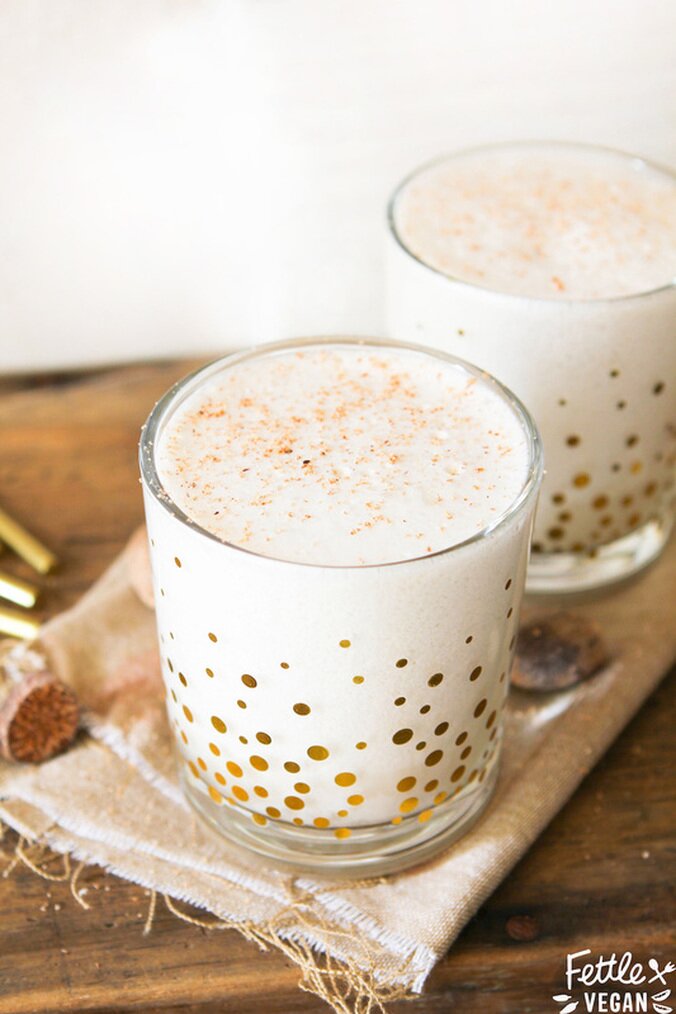
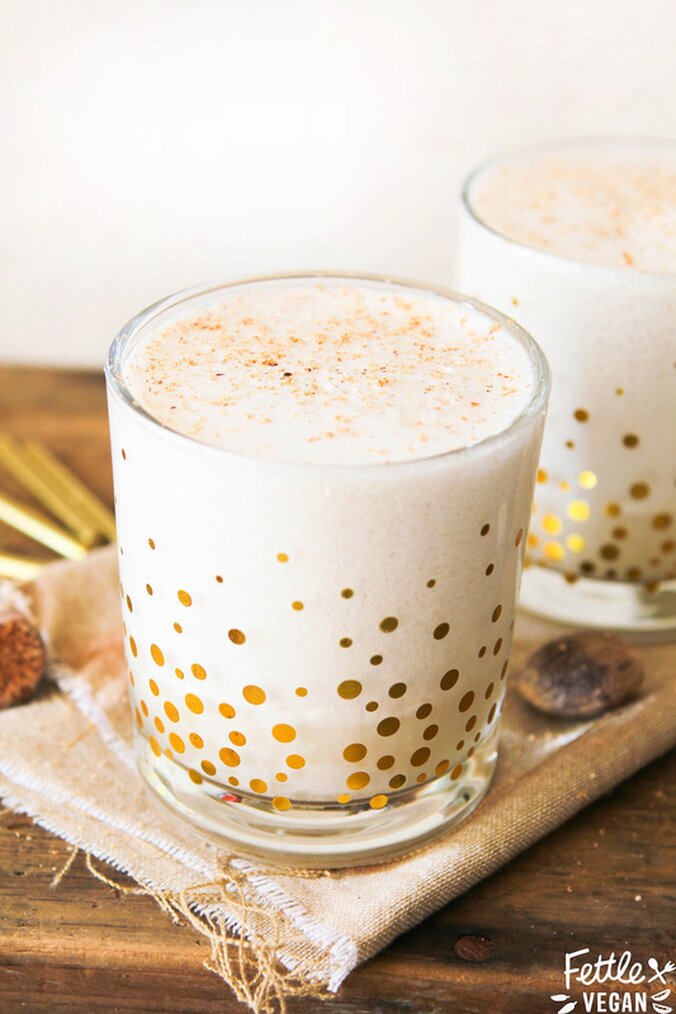
Brandy Alexander

15 oz. can full-fat coconut milk (OR 15 oz. your choice non-dairy milk, though it will be less thick)
10 ounces chocolate liqueur
5 ounces brandy
1-2 cups ice
freshly grated nutmeg, for garnish
DIRECTIONS
In a high-speed blender combine all the ingredients and blend until desired consistency is reached. The drink should be thick but creamy - like drinkable milkshake texture. Enjoy immediately!
NOTES
Serves 4.
The alcohol we used is vegan approved by Barnivore. You can use it to look up ANY type of alcohol to see if it's vegan-friendly.
Like we said above, you can substitute whatever non-dairy milk you have on hand here, though it won't be quite as thick as the original.
tags
All
Acai
Alcohol
Almond Cream
Almonds
Apple
Aquafaba
Artichoke
Arugula
Avocado
Bacon
Baked
Balls
Balsamic
Banana
Bars
Basil
Bbq
Beans
Beets
Berries
Biscuits
Blondies
Blood Orange
Blueberries
Bok Choy
Bowls
Bread
Breakfast
Broccoli
Broccoli Slaw
Brownies
Bruschetta
Brussels Sprouts
Buffalo
Burger
Burrito
Buttercream
Butternut Squash
Cabbage
Cacao
Cajun
Cajun Spice
Cake
Candy
Caprese
Cardamom
Carob
Carrot
Cashew Creme
Cashews
Cauliflower
CBD
Celeriac
Celery
Cereal
Champagne
Charcoal
Cheese
Cheesecake
Cheesesteak
Cheeze
Cherimoya
Cherries
Chia Pudding
Chia Seeds
Chicken
Chickpeas
Chili
Chips
Chocolate
Cider
Cilantro
Cinnamon
Clafoutis
Coconut
Coconut Milk
Coconut Water
Coffee Cake
Cookie Bars
Cookie Butter
Cookie Cake
Cookies
Cooking Tips
Crackers
Cranberries
Cream Cheese
Crumble
Cucumber
Cupcakes
Dates
Dill
Dinner
Dip
Donuts
Dough
Dressing
Drinks
Easter Eggs
Falafel
Faux Cheese
Faux Meat
Figs
Flatbread
Flax
Fluff
Fondant
French Toast
Fried
Fries
Frosting
Fruit
Fudge
Galette
Garam Masala
Garlic
Ginger
Gingersnaps
Glaze
Gluten Free
Goji Berries
Golden Berries
Golden Milk
Grain Free
Gratin
Gravy
Green Tea
Grinder
Guacamole
Halloween
Hazlenuts
Hearts Of Palm
Hemp Milk
Hemp Seeds
Hemp-seeds
Holidays
Homemade
Honey
Hormone-balancing
Hot Sauce
Hummus
Ice-cream
Jackfruit
Jalapenos
Jam
Jicama
Juice
Kale
Kettle Corn
Kimchi
Kung Pao
Lasagna
Latte
Lavender
Leeks
Leftovers
Lemon
Lettuce Wraps
Lime
Low Sugar
Macadamia Nuts
Mango
Maple
Maple Syrup
Marshmallow
Masa Harina
Matcha
Mayo
Meals
Mediterranean
Milkshake
Mint
Miso
Molasses
Monk Fruit Sweetener
Muffins
Mushrooms
Nachos
Noodles
Not Vegan
Nut Butter
Nutmeg
Nutritional Yeast
Oatmeal
Oats
Olives
Onions
Orange
Pancakes
Panini
Parsley
Pasta
Peaches
Peanut Butter
Pears
Peas
Pecan
Pepitas
Peppermint
Peppers
Persimmon
Pesto
Phyllo
Pickled
Pie
Pilaf
Pineapple
Pine Nuts
Pita
Pizza
Polenta
Pomegranate
Popcorn
Potatoes
Protein
Pudding
Pumpkin
Queso
Quinoa
Radish
Rasins
Raspberries
Raw
Red Bean
Rhubarb
Rice
Ricotta
Rightrice
Roasted
Rolls
Romanesco
Rosemary
Sage
Salad
Sandwich
Sangria
Sauce
Savory
Scones
Seitan
Sesame
Shallot
Shoshito Peppers
Side Dish
Slaw
Sliders
Smoky
Smoothies
S'mores
Snacks
Soba
Soup
Spicy
Spinach
Spread
Squares
Squash
Sriracha
Stevia
Stone-fruit
Strawberry
Streusel
Strudel
Stuffed Peppers
Stuffing
Sugar Cookies
Sugar Free
Sunbutter
Sweet Potato
Sweets
Tacos
Tahini
Tart
Tea
Tempeh
Thumbprint
Thyme
Tigernuts
Tofu
Tomato
Tomatoes
Tortillas
Turmeric
Vanilla
Veganized
Vegetarian
Vegg- The Vegan Egg Yolk
Vinaigrette
Vinegar
Waffles
Walnuts
Wheat Berries
Whiskey
White Chocolate
Wrap
Yeast
Yogurt
Zucchini
 RSS Feed